


How to Sourdough
A bit of a fickle hobby that's worth the time investment
So you’ve gotten a sourdough starter from someone on your Buy Nothing group, your friend, your sister in law or you’ve ordered sourdough flakes that were used on the Oregon Trail (yes, this is real and I want to do it bad). You’ve held out past the sourdough frenzy of early pandemic times and now you want to get into bread. Wonderful! Welcome!
It’s no secret that I love bread. I have a butter tattoo to scale on my arm. One of my favorite snacks as a kid was a bread and butter sandwich. When slathering butter on bread, I try to achieve tandsmør, a Danish word meaning 'tooth butter' which is when there is so much butter on your bread that your teeth leave bite marks. I love the meditative practice of making bread in different times of year, and making slow but sure progress as a baker.
Without rushing to be the best at making sourdough bread, I’m forced to be thoughtful about how to improve my process, knowing that if I mess up, I’ll always have an edible loaf, even if it’s less than perfect.

There are a lot of resources online, some of which contradict each other, and most of which are a little time consuming. Feel absolutely free to stop reading this and do some googling instead - I won’t feel offended. This guide is what I have found works for me as a working girl™. I’ve only been doing sourdough things for a year, so I’m a novice in the realm of sourdough bread and starter. Below are some tips & tricks I’ve used to successfully make bread and keep my starter alive.
Caring for Your Starter
Remember sourdough starter has existed since before we had yeast - this was how ancient folks got bread to rise so it is a resilient, alive-ish thing! There are ways to kill your starter, but remember that you can always get more (from me, from a Buy Nothing group, or your mom’s friend). The more you feed your starter, the bigger it will get so you will have to use it or discard some of it - yay!
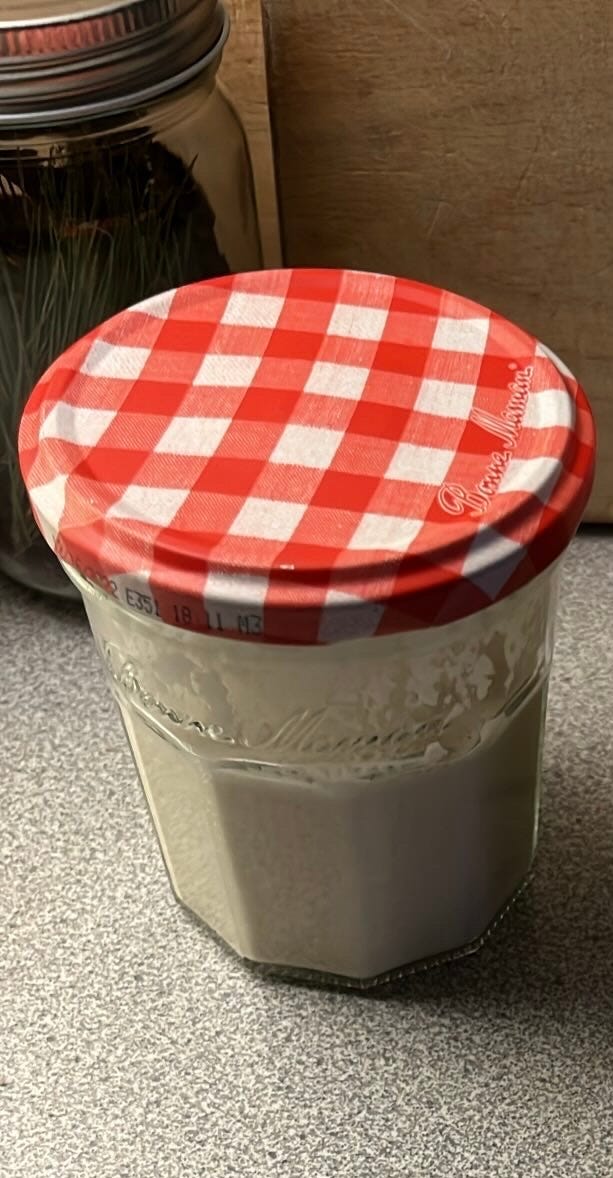
When I can’t be bothered to keep up with feeding and using the starter in recipes, I throw it in the fridge to hibernate. The cold pauses the activity in the starter. Store it in an airtight jar in a part of your fridge that is cold but not icy. If it’s too cold, the starter will die. I keep mine in the door of the fridge or amongst all the bubble waters on the lower shelf.
If you take your starter out of the fridge, it’s normal for there to be a layer of liquid on top, so don’t get too worried about that. If you’re worried about the status of your starter coming out of the fridge, consult Google.
To Activate Your Starter
If you have been storing your starter in the fridge, that’s great. I do that too. I sometimes leave it for weeks (and one time for months) at a time. When you’re ready to use your starter and bake something, use the steps below!
Take the starter out of the fridge and set it on the counter for 30 minutes to “wake up.”
Add equal parts bread flour and warm water to the jar of the starter and mix vigorously to combine. I start with 20-50 grams, depending on the size of the starter and the vessel it’s in. You can also use the 1:1:1 rule with equal parts starter, flour, and water. A scale comes in handy here!
Once combined, it should look like thick pancake batter so if it looks too dry, add a splash of water. If it looks too wet, add a sprinkle of bread flour.
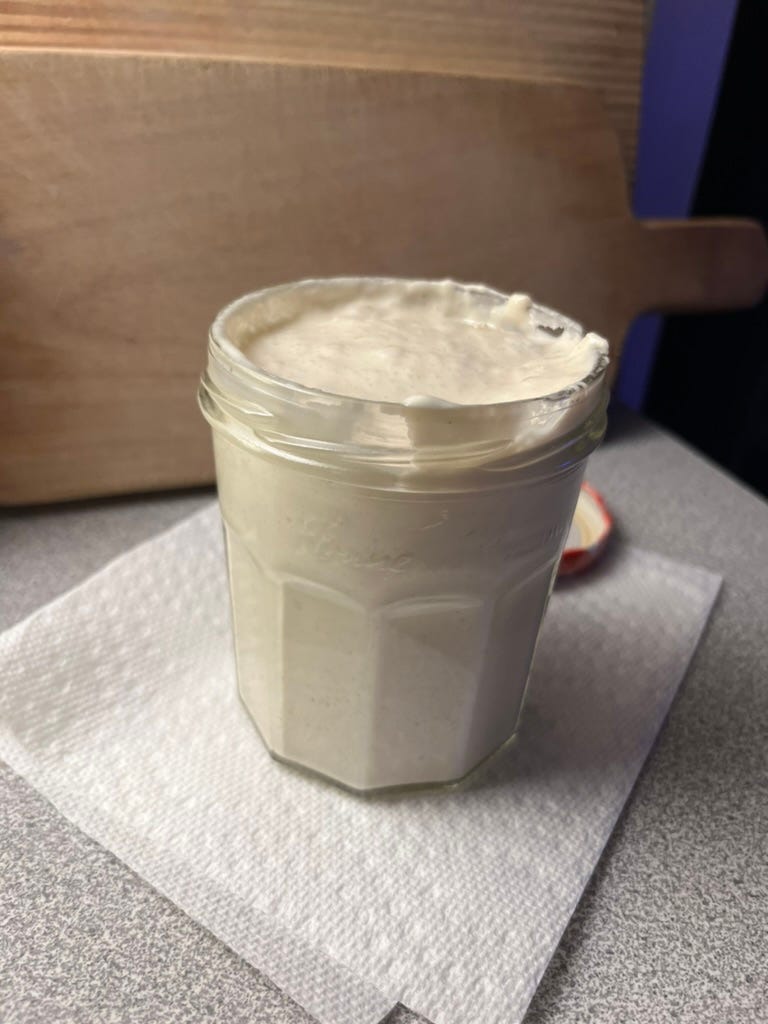
Leave it on the counter for a few hours to come to life. It’ll bubble and may rise close to the top (or even over the top) of the jar and that’s okay! To speed this up, you can put it in the oven with the oven light on for 1-2 hours. Use a rubber band on the outside of the jar to mark the level of the starter at the beginning of the feeding so you know how much it’s grown.
Once your starter has peaked and has started to sink down a little bit, it is ripe/active and ready to use in a recipe!
To Feed Your Starter If It’s Been On the Counter
If your starter has been activated already and is chilling on the counter, you’ll probably want to feed it every day ideally. To feed it:
Add equal parts bread flour and warm water to the jar of the starter and mix vigorously to combine. I start with 20-50 grams, depending on the size of the starter and the vessel it’s in. You can also use the 1:1:1 rule with equal parts starter, flour, and water. A scale comes in handy here!
Once combined, it should look like thick pancake batter so if it looks too dry, add a splash of water. If it looks too wet, add a sprinkle of bread flour.
Leave it on the counter for a few hours to come to life. It’ll bubble and may rise close to the top (or even over the top) of the jar and that’s okay! To speed this up, you can put it in the oven with the oven light on for 1-2 hours. Use a rubber band on the outside of the jar to mark the level of the starter at the beginning of the feeding so you know how much it’s grown.
Once your starter has peaked and has started to sink down a little bit, it is ripe/active and ready to use in a recipe!
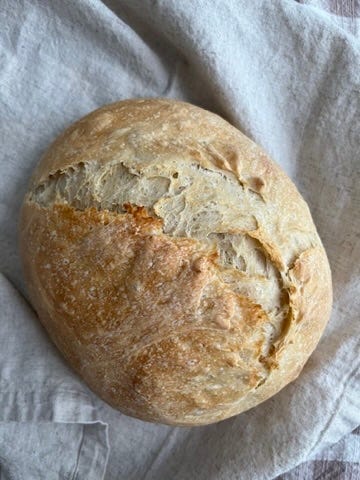
Recipe for Rustic Sourdough Bread
Given to me by my sister-in-law (not sure where she sourced it)
Yield: 2 loaves - I frequently half all the ingredients to make one loaf
*Note: I always use a scale to get the most accurate measurement. But once I get the perfect amount of ingredients included, I may adjust if the dough *feels* not quite right. The art of sourdough is the science and precision married to the nuance.
1 cup (8 ounces) ripe/active starter
1.5 cups (12 ounces) lukewarm water
1 teaspoon instant yeast (this helps ensure a good rise for a new sourdough baker!)
2.5 teaspoons kosher salt
5 cups (21.25 ounces) unbleached all purpose flour (I use bread flour)
Combine starter and water. Mix together until combined.
Add yeast, salt, flour and mix/knead until it forms a smooth dough
Place dough in a covered bowl with lid or clean kitchen towel. Rise for 90 minutes total, stretching and folding dough every 30 minutes - video here. I use the bread proof setting on my oven and put the dough in the oven during this time. It should double in size.
Divide dough in half and shape dough into 2 loaves. Look up videos for how to do this (feel free to start here).
Put the loaves into bread proofing baskets if you have them or their baking vessels (I use two Dutch ovens with a silicone mat on the bottom but you can also use a sheet pan - experiment with different cooking methods).
Cover loaves to rise a second time for about an hour. Towards the end of the rising time, preheat the oven to 450 degrees Fahrenheit.
Make 1-2 slices across the loaves so steam can escape while they bake.
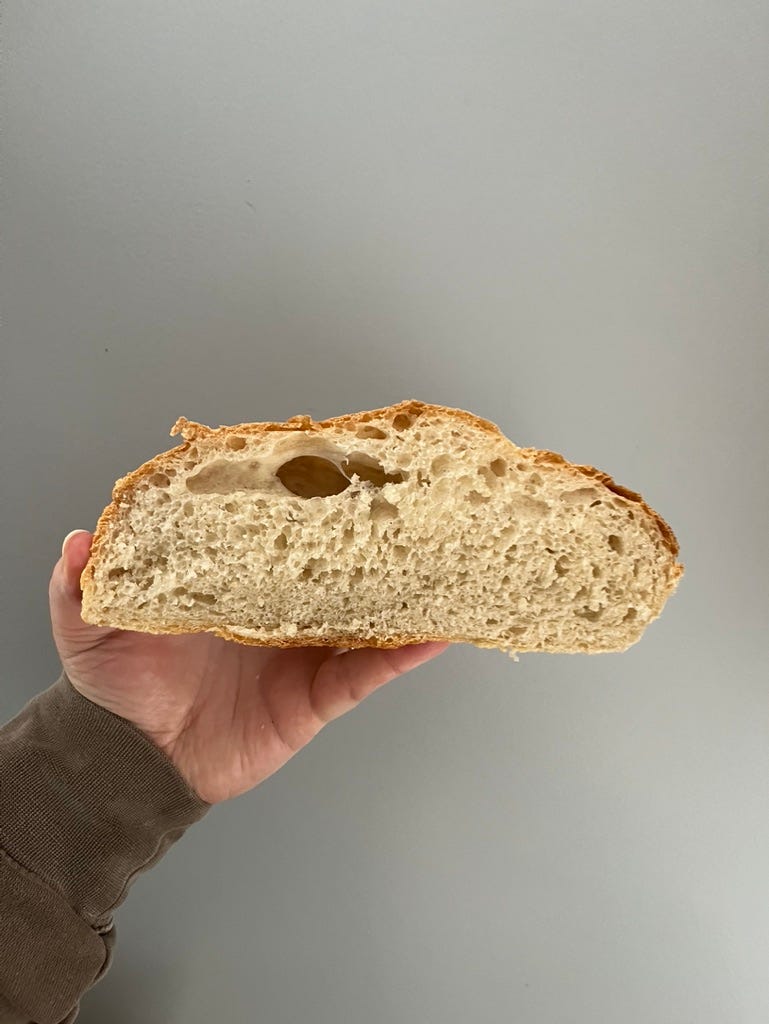
Bake for 20 mins at 450 (covered), then remove cover and lower heat to 425. Bake for an additional 15-20 mins. Bread is done when the internal temperature is above 190 degrees!
Cool for an hour before you slice if you can help it!
Crowdsourced Advice
I crowdsourced some advice from my friends who are also casual sourdough backers. Read below!
Don’t be afraid to mess up! There’s a learning curve and that ‘s part of the beauty!
1:1:1 is the golden rule with discard/feeding, water and flour
Play around with different flours: (dark or light) rye, whole wheat, bread, all purpose
Cover with a wet towel when proofing to get a harder crust
Cold proofing in the fridge may seem easier but it can kill the rise more easily if you’re not careful. But it can result in a fluffy loaf!
If you don’t have a Dutch oven with a lid, bake your loaf on a pizza stone with 1 cup of boiling water in a cake pan on the rack underneath
Invest in a scoring tool aka lame for scoring
If the daily feeding feels intimidating, the starter can live in a tight-lidded jar for weeks (maybe months!) until you’re ready to back. It will just need a day of feeding to come back to life.
Do a bulk fermentation after the stretch/folds! The time it takes to rest and rise is 4 or 5 hours but more in the winter.
Place the Dutch oven in the oven when you preheat. Then put the loaf inside the hot Dutch oven to bake. It’s like an oven inside an oven. Also you can pour ½ cup water in the Dutch oven halfway through the bake time to steam!
Check out @shadyoakssourdough to learn more! There’s also a digital eBook Amy wrote if that’s your thing.
Eat with butter. 🧈
Things I Like
Thinking about summer crochet projects that I should plan for and get underway soon, and everyday crochet projects that I want to start like these wall hangings maybe? (thank you to my husband for sending these to me)

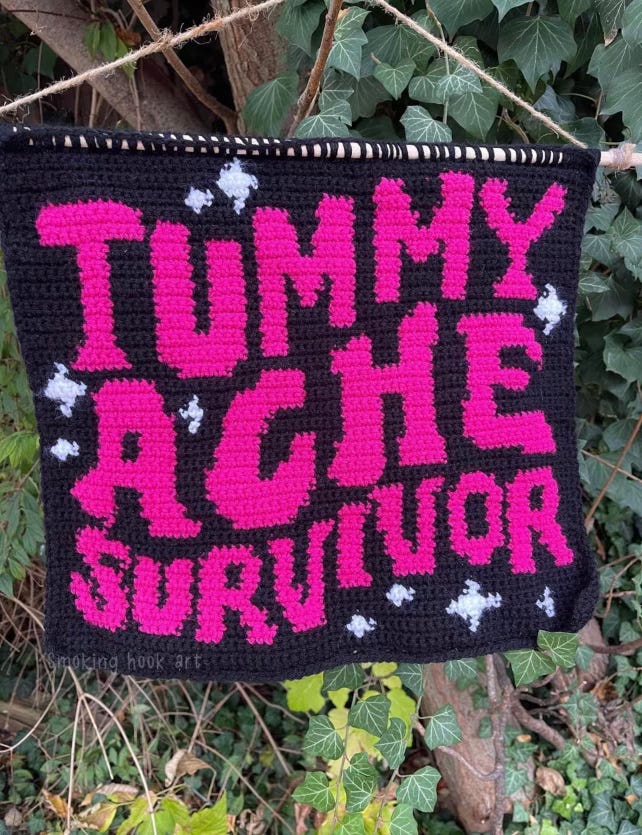
our generation's LIVE LAUGH LOVE Sheer gloves and socks: very ~fashion~ if I do say so myself.
Pull apart breads: savory AND sweet! Also I saw this savory trifle and I can’t stop thinking about it.
Obsessed with this kitchen design!
A daily walk.


May your week be gentle and may you eat well. 🌲🥣